


My Garments – Upload Your Own Garments

Written by
Karin Goffe
Tips & Tricks
Products
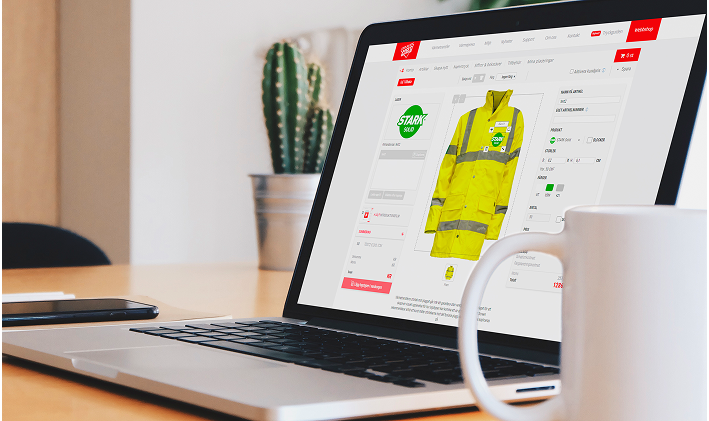
How does My Garments work?
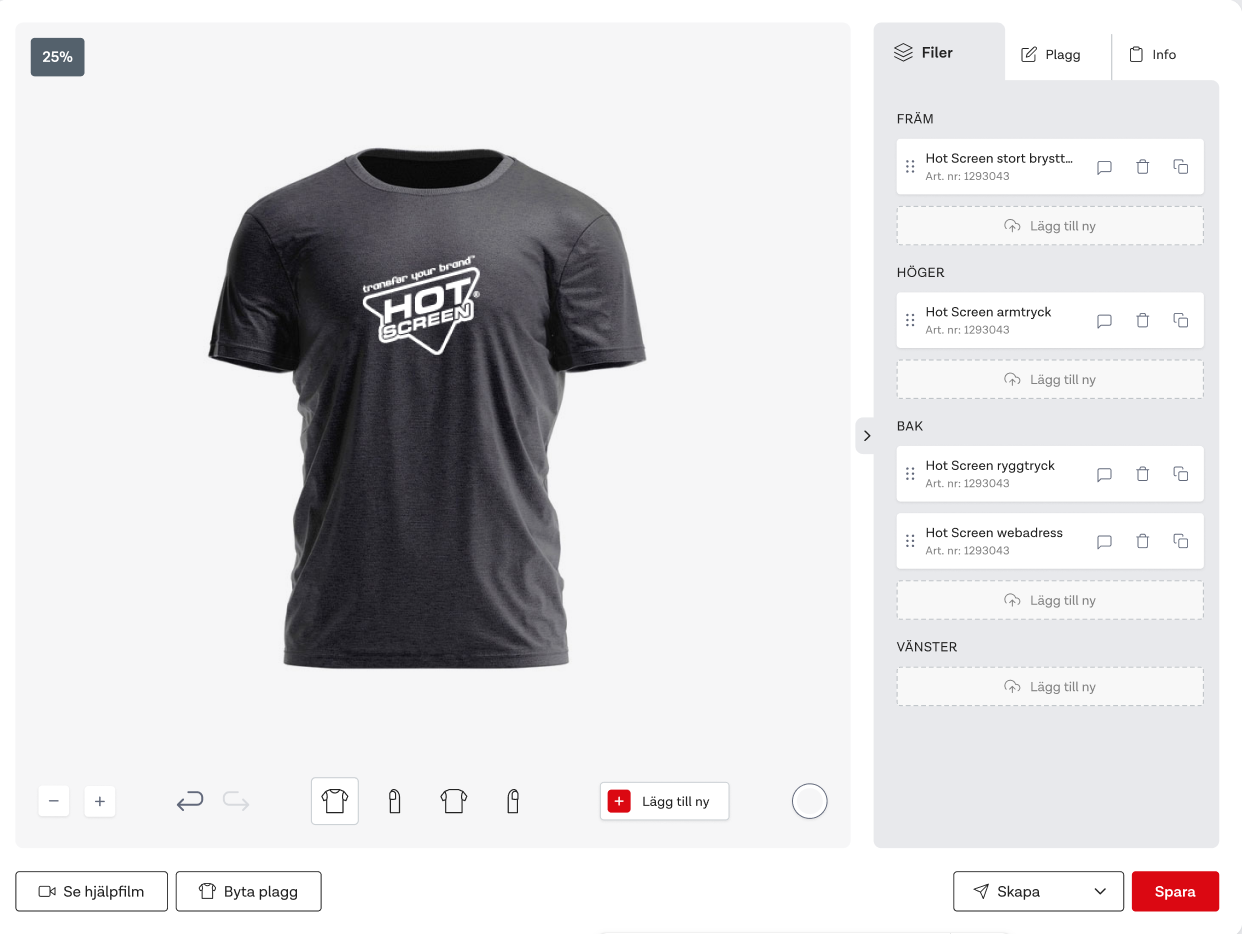
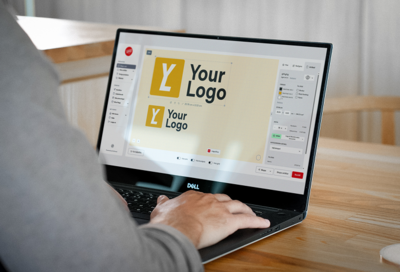
In our smart webshop, you can easily place your logo on a realistic background. Choose between our standard illustrations or upload your own garments for a more accurate visualization. With My Garments, you have full control. Upload, organize, and manage your garments smoothly. Use them in the webshop to place logos and designs correctly, considering seams and details.
Save time and ensure perfect placements – whether you're creating an order, adjusting a placement, or presenting a polished PDF proof to your customers!
The three best features of My Garment:
-
Categorization - Create your own libraries for customers or collections and have full control over your garments.
-
Fixed Items - Link the right items with each garment. Perfect for smooth repeat orders!
-
Logo Area - Mark exactly where the print should be placed. Avoid misplacements and uncertain orders.
Create Garment
– watch the video below or read the guide.
1. Information
Here you fill in the basic information about your garment.
- Name your garment
- Type of garment
- Category - Create a category to easily sort your garments.
2. Upload Garment
Add images of your garment in JPG, PNG, TIFF, or PDF. You can upload multiple angles and choose which sides can have heat transfers applied.
3.Add Fixed Items
Attach designs that should always be on the garment – perfect for fixed company logos. Ensures nothing is missed when ordering!
Tip! This feature is perfect for club emblems on jerseys.
4. Add Logo AreaMark exactly where the print should be placed. The areas you define become available in the Logo Creator.
Extra feature: Change the background color to better see details on your garment.